In this article, we’ll cover the basic account setup so that you can enjoy Skeddule and make rostering a breeze.
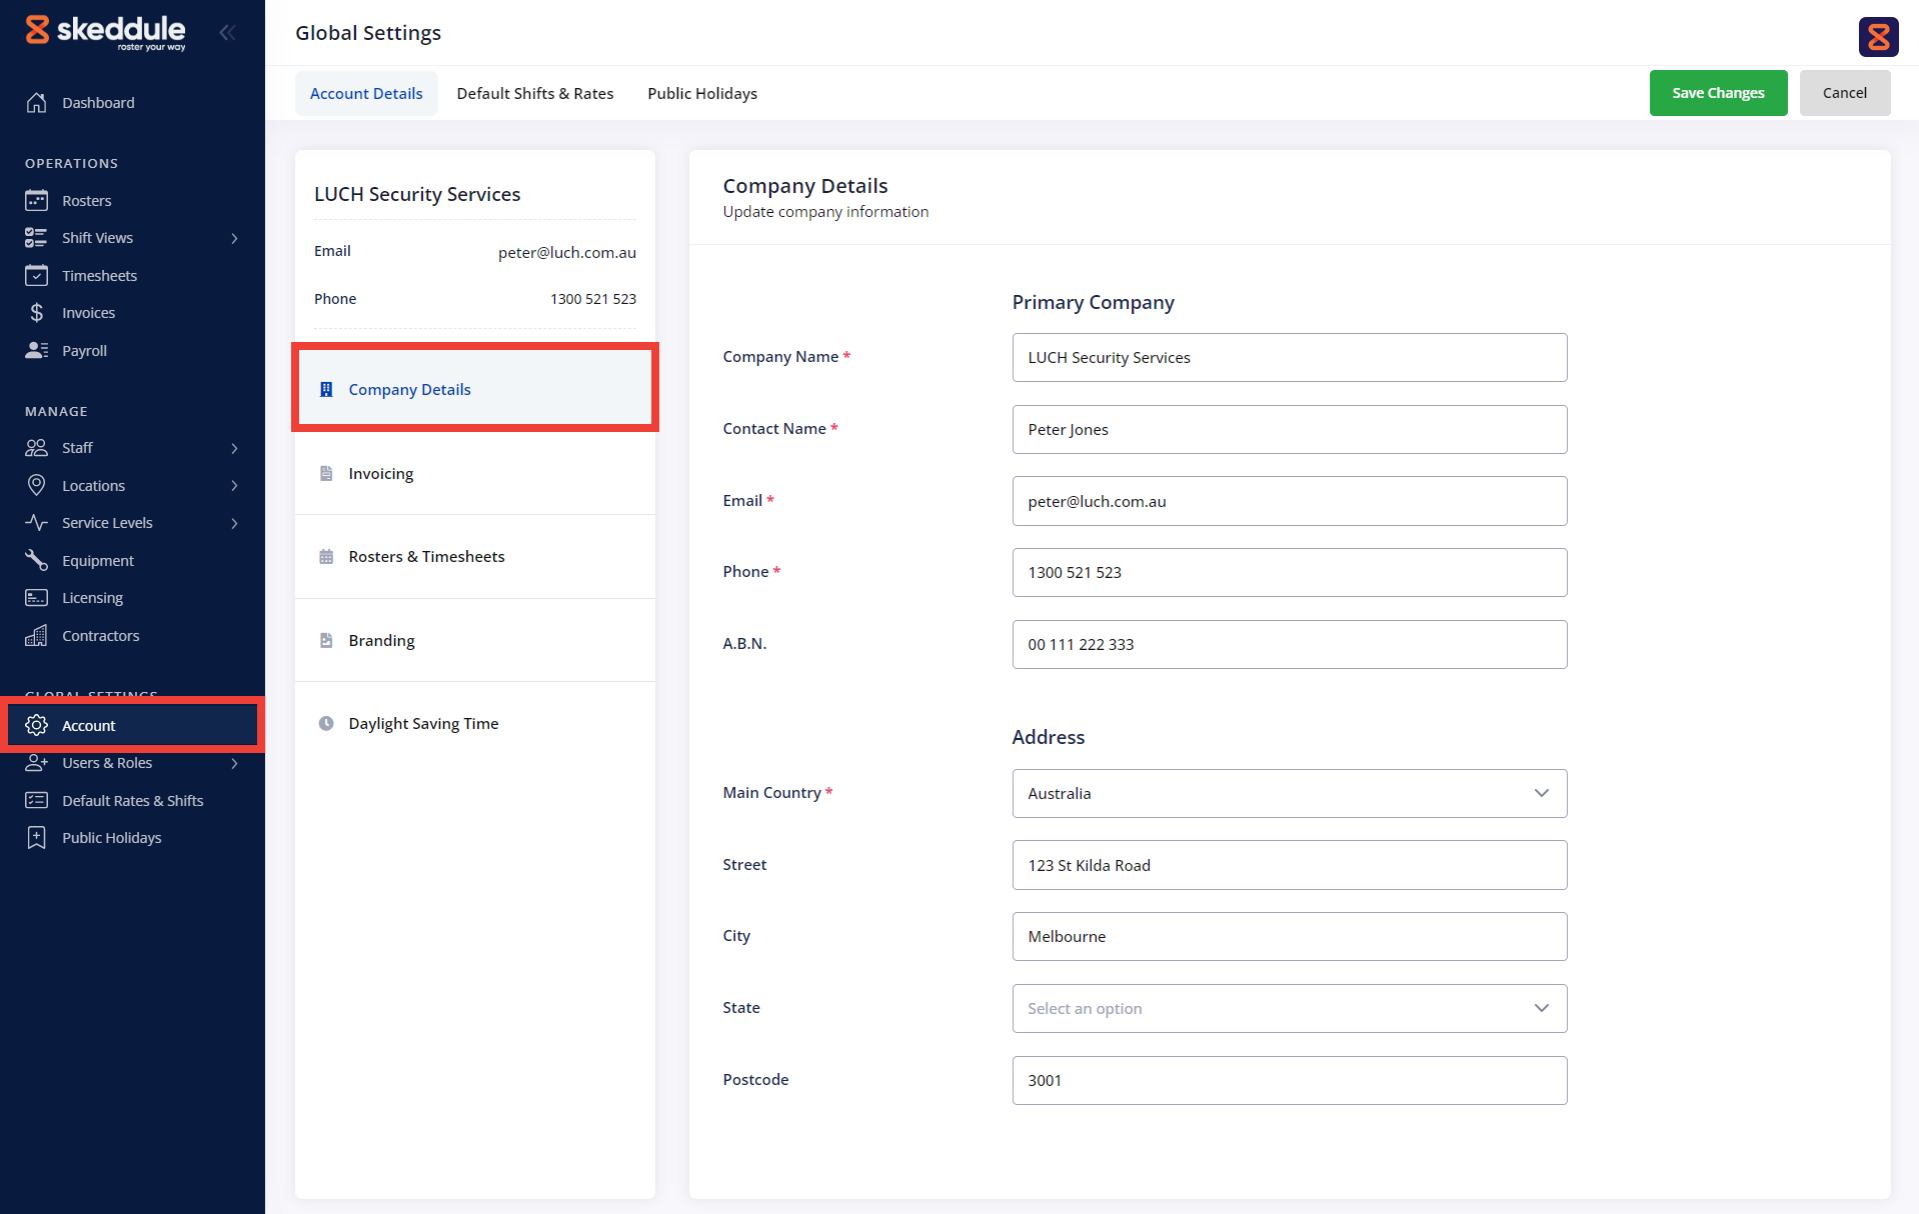
Under Settings, go to Account. The first tab is called “Company Details” and here you can add your company’s basic information
IMPORTANT
When selecting the Country, the system will automatically populate the corresponding states and currency in further sections.
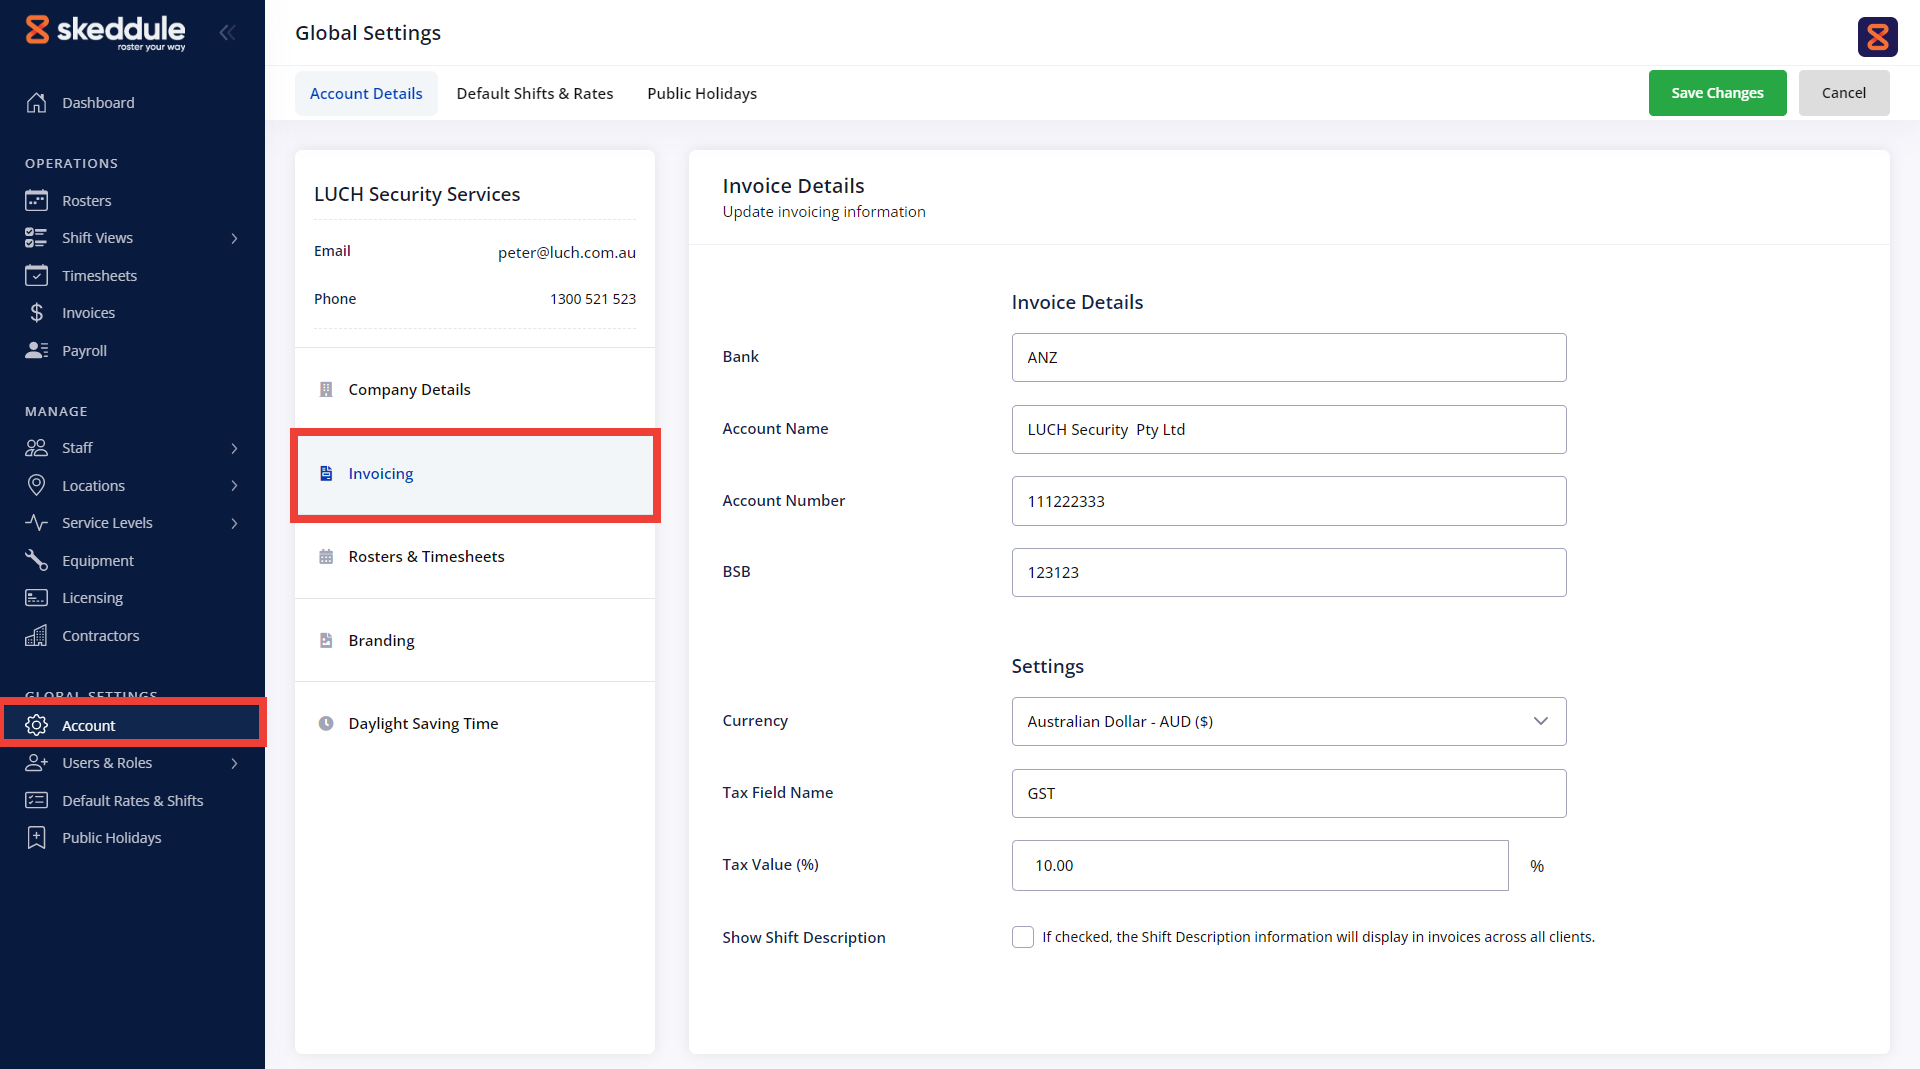
In the invoicing section, you can add your banking details including Bank and Account name, Account number and BSB. You can also set up the currency to match your region.
Tax Name: Enter the tax label you would like to display in invoices. Depending on your country, this might be GST, VAT or simply Tax.
Tax Value: Enter the percentage of tax that should be applied to invoices.
The Show Shift Description option allows you to choose whether or not to display this information in the invoices generated for your clients.
When generating invoices to send to your clients, the system will display your company contact details, address and invoicing information from this page.
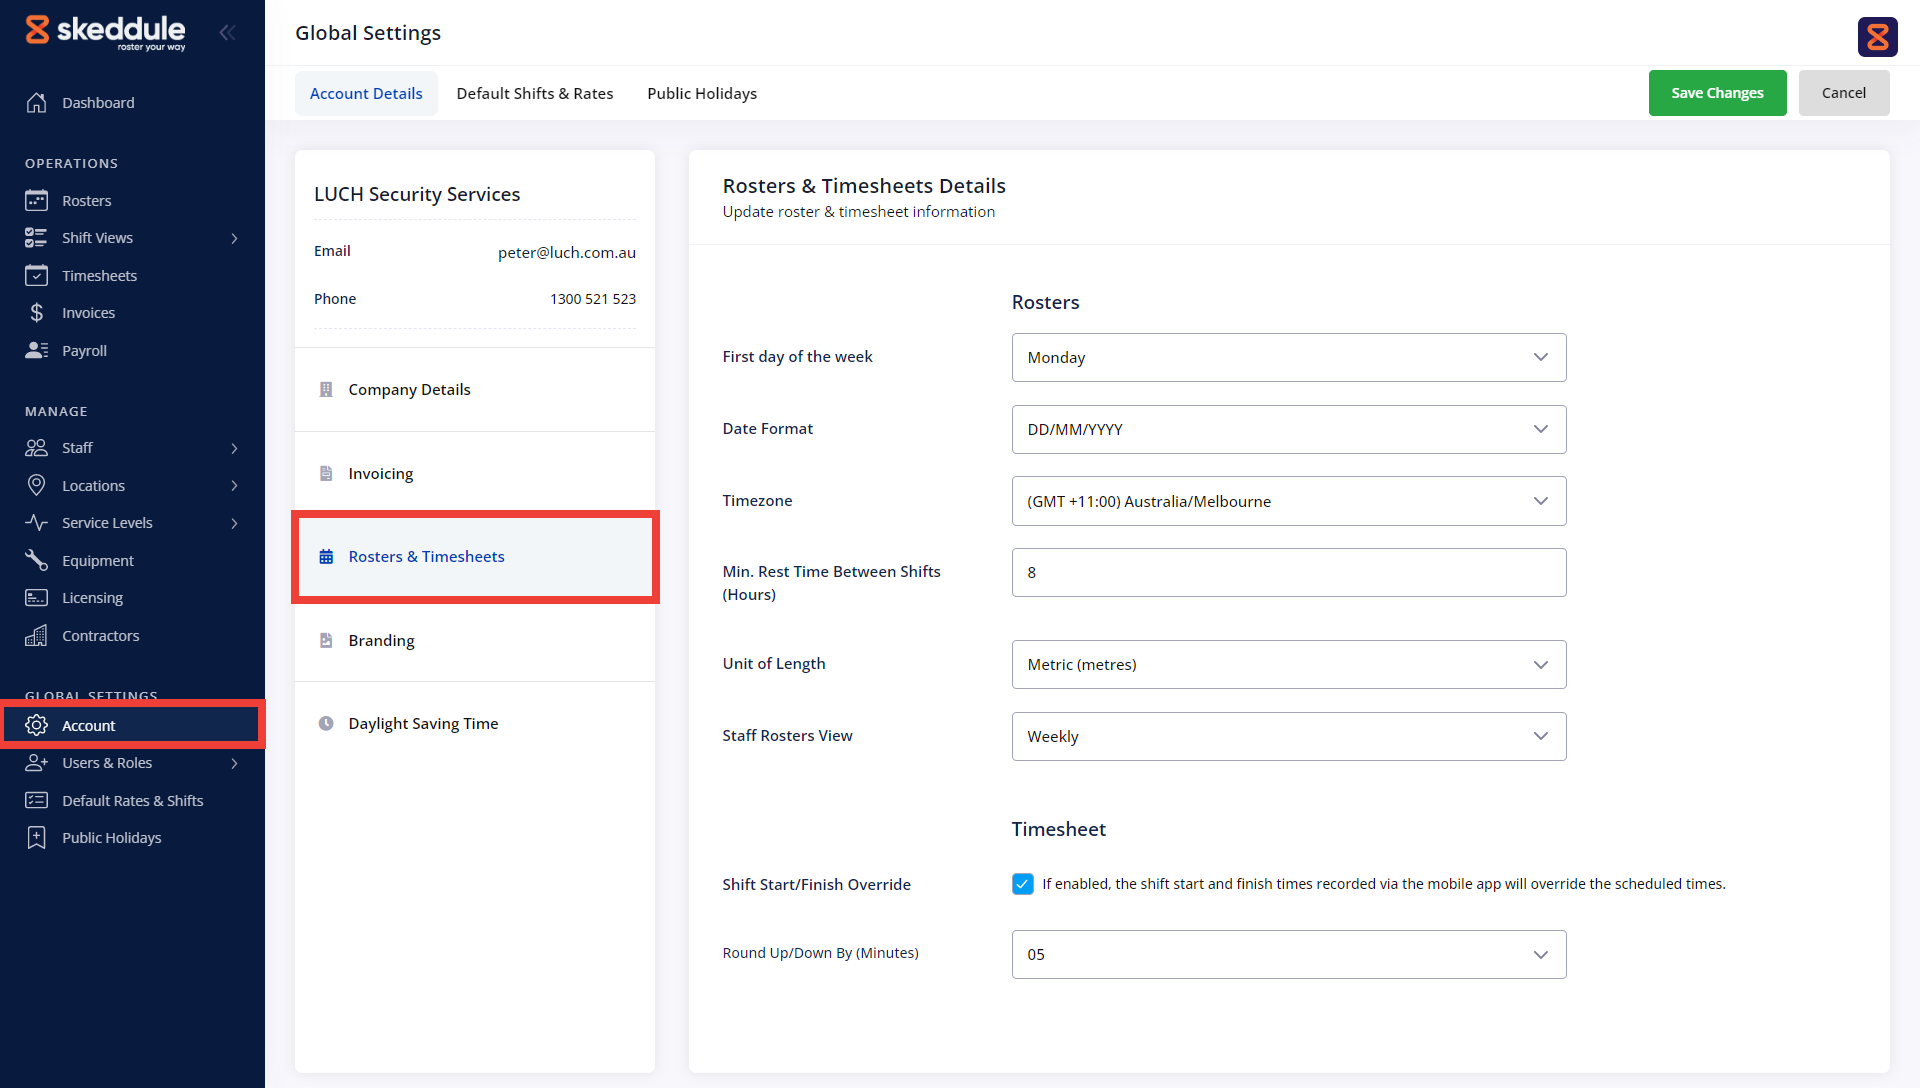
First day of the week: Choose between Monday and Sunday as the beginning of the week across the system.
Date format: Choose between Month-Day-Year and Day-Month-Year options.
Timezone: Choose your region’s timezone. This is important for many reasons including proper display of rosters and ensuring email notifications are sent promptly.
Minimum Rest between shifts: This is an optional field. Here you can enter a minimum rest time value. If this time is not met, the system will display a warning message at the moment of selecting the staff for a shift.
The minimum rest time will not prevent you from assigning a shift to any staff.

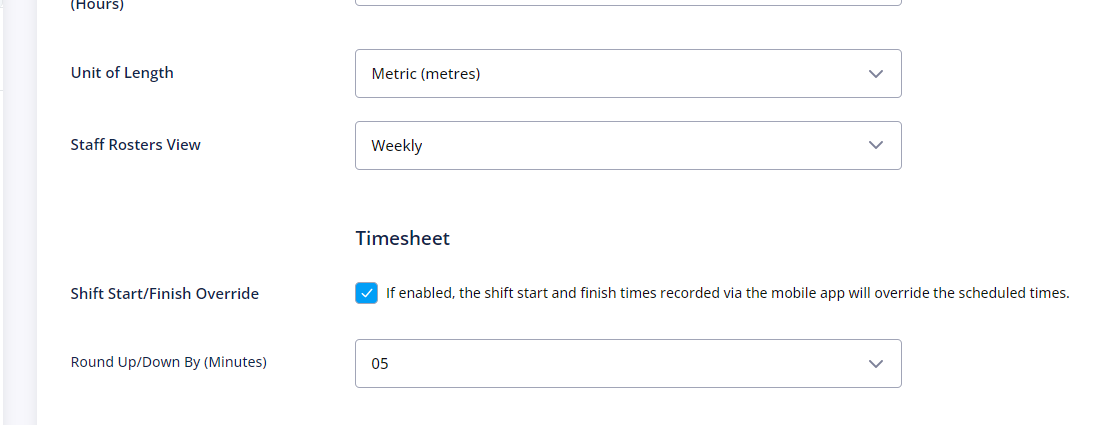
Unit of length: Select between Metric (meters) or Imperial (feet). This setting is useful for adjusting the radius around a venue’s address, within which Staff can clock on or off.
Staff Roster View: Choose whether Staff will see once they log into the web staff portal, their rosters on a week-by-week or month-to-month basis.
If Weekly view is selected, the staff will see two calendars and respective shifts:
- Current week
- Following week
When the Monthly view is selected, the staff will see the current month’s calendar which also includes the first week of the following month.
Shift Start/Finish Override: This option allows you to opt whether the sign-on and sign-off information coming from staff mobile apps should override the scheduled shift start and end times.
If the “Shift Start/Finish Override” option is enabled, then you can set a Round Up/Down By time in minutes. This only affects timesheets. Rosters will display both the actual and scheduled shift start and end times.
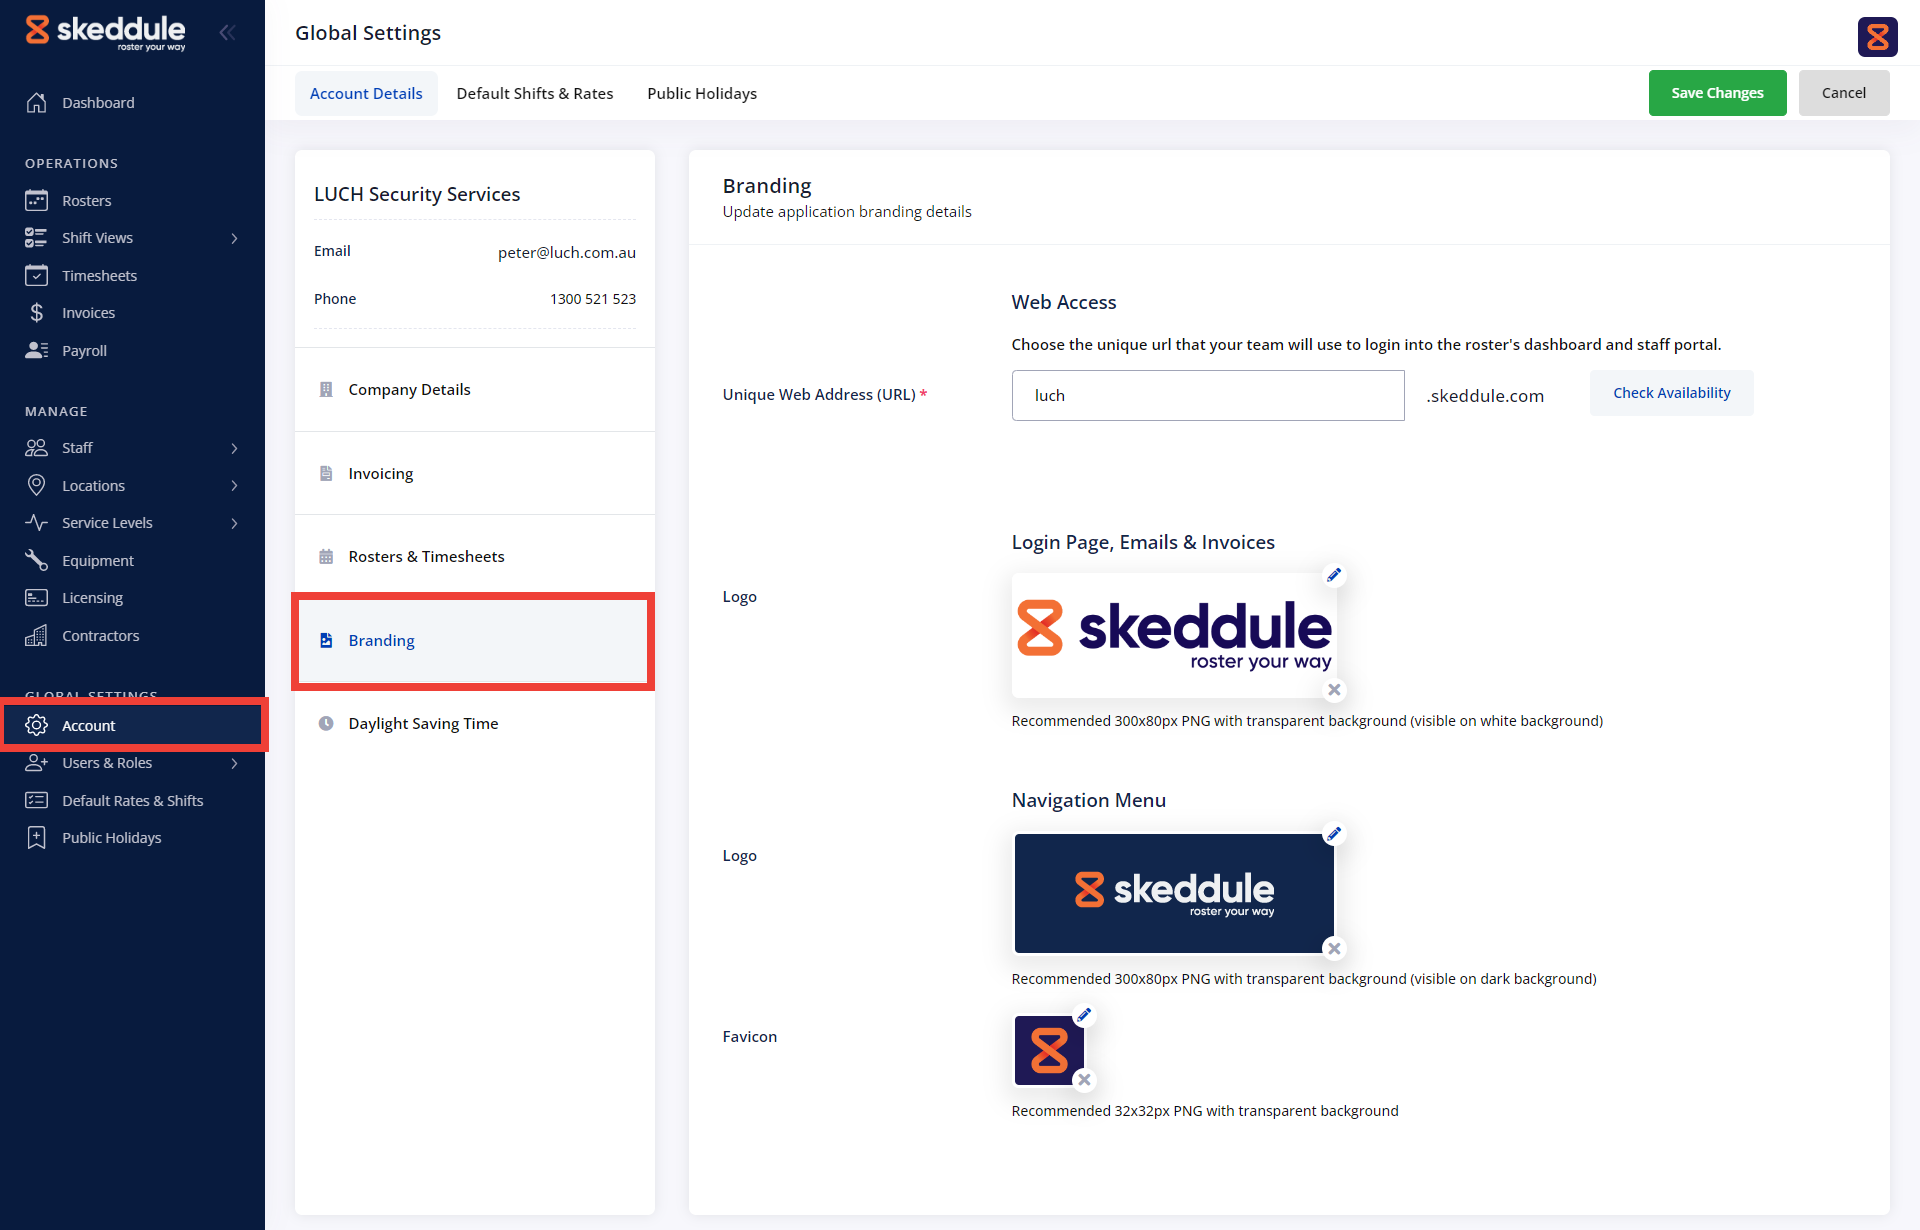
Web Access (URL): Use this field to create your system login URL. This will be used by both staff and admin users to access the system. We suggest using a word that is easy to remember such as your company name (or a short version of it).
Login and Emails: This version of the logo is used to display on the login page. It is also used in all email notifications sent by the system. PNG or JPG file format with a minimum size of 300pxx80px is recommended.
Navigation Menu: This image will be used to display in your admin and Staff Portals, above the left navigation menu. The logo should be in a light colour version, transparent with a minimum size of 300pxx80px is recommended.
Favicon: The favicon is a small square-shaped mark that is displayed on the left side of the tab in your web browser. PNG format with a minimum size of 32pxx32px is recommended.

Daylight Saving Time (DST) is the practice of setting the clock forward one hour from the standard time during the summer months and back again in the fall.
For your rosters and shifts to display the correct time all year long, you need to set the start and end dates of Daylight Saving Time.
Please follow these steps to set up the Daylight Saving Time (DST) for your region.
- In the Settings section in the left navigation menu, go to Account > Daylight Saving Time
- Enable this setting by clicking on the checkbox.
- Enter the minutes of Daylight Saving Time (DST). For most cases, this will be 60.
- Select the Date and Time for when DST should start and end.