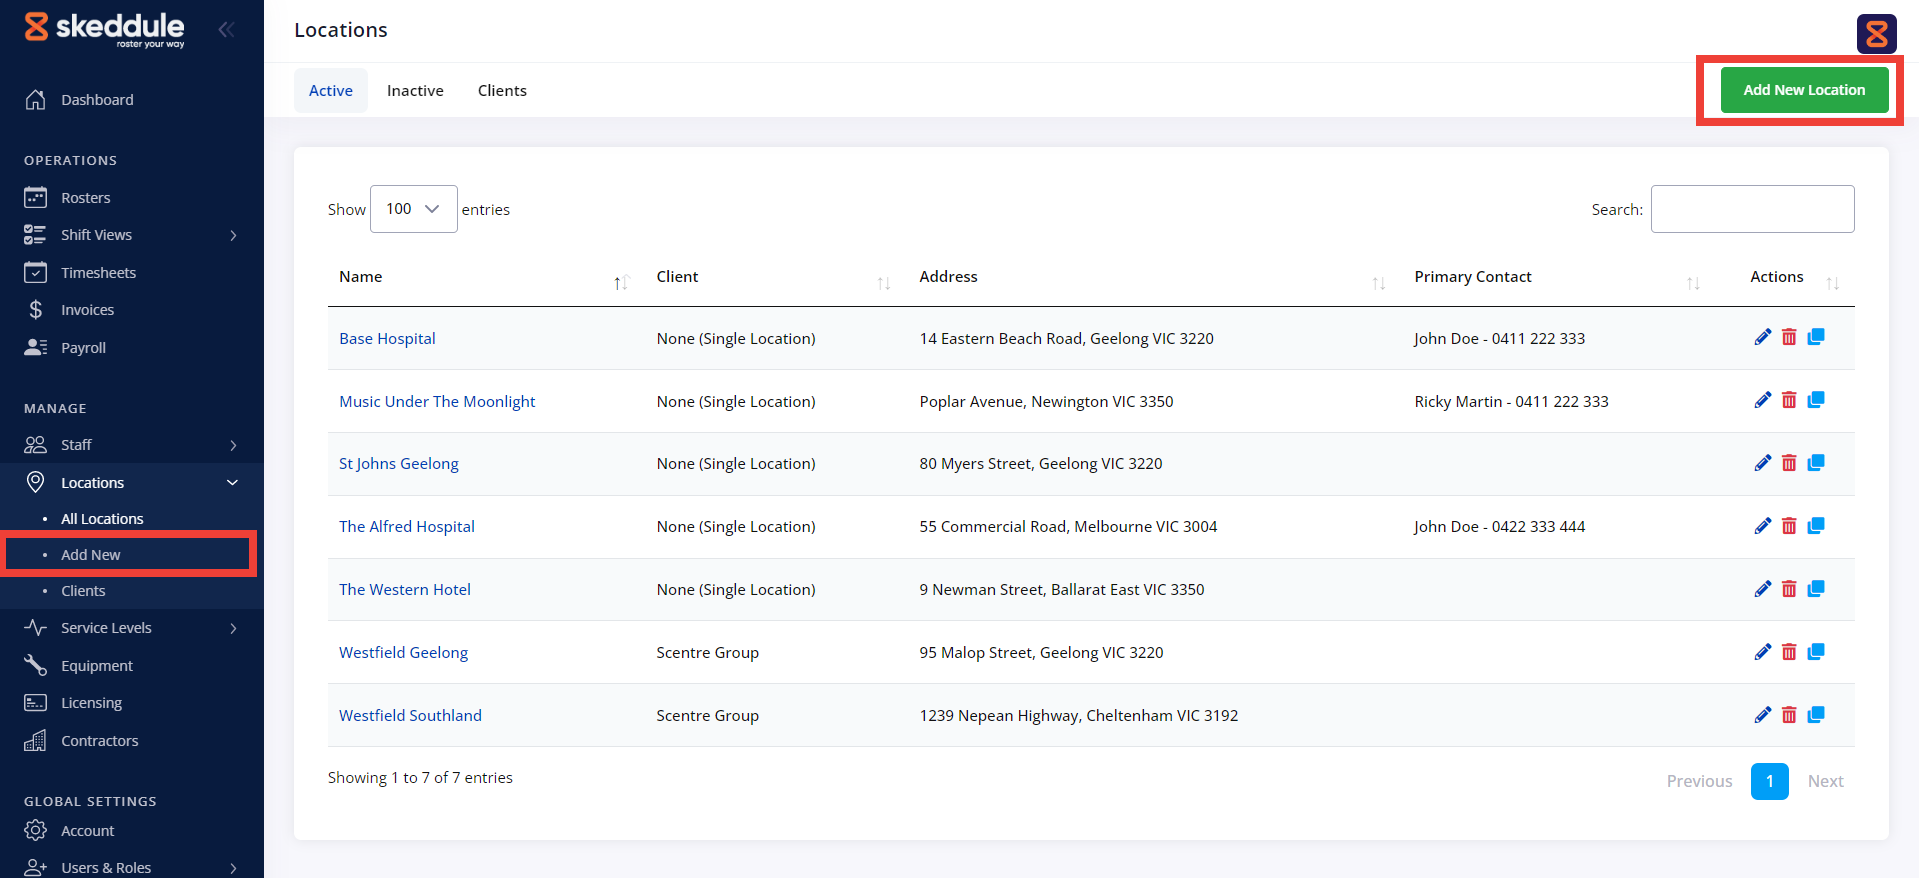
To add a new staff you can do so from either, the button at the top right corner of the All Locations page, or the Add New option under the Staff navigation section
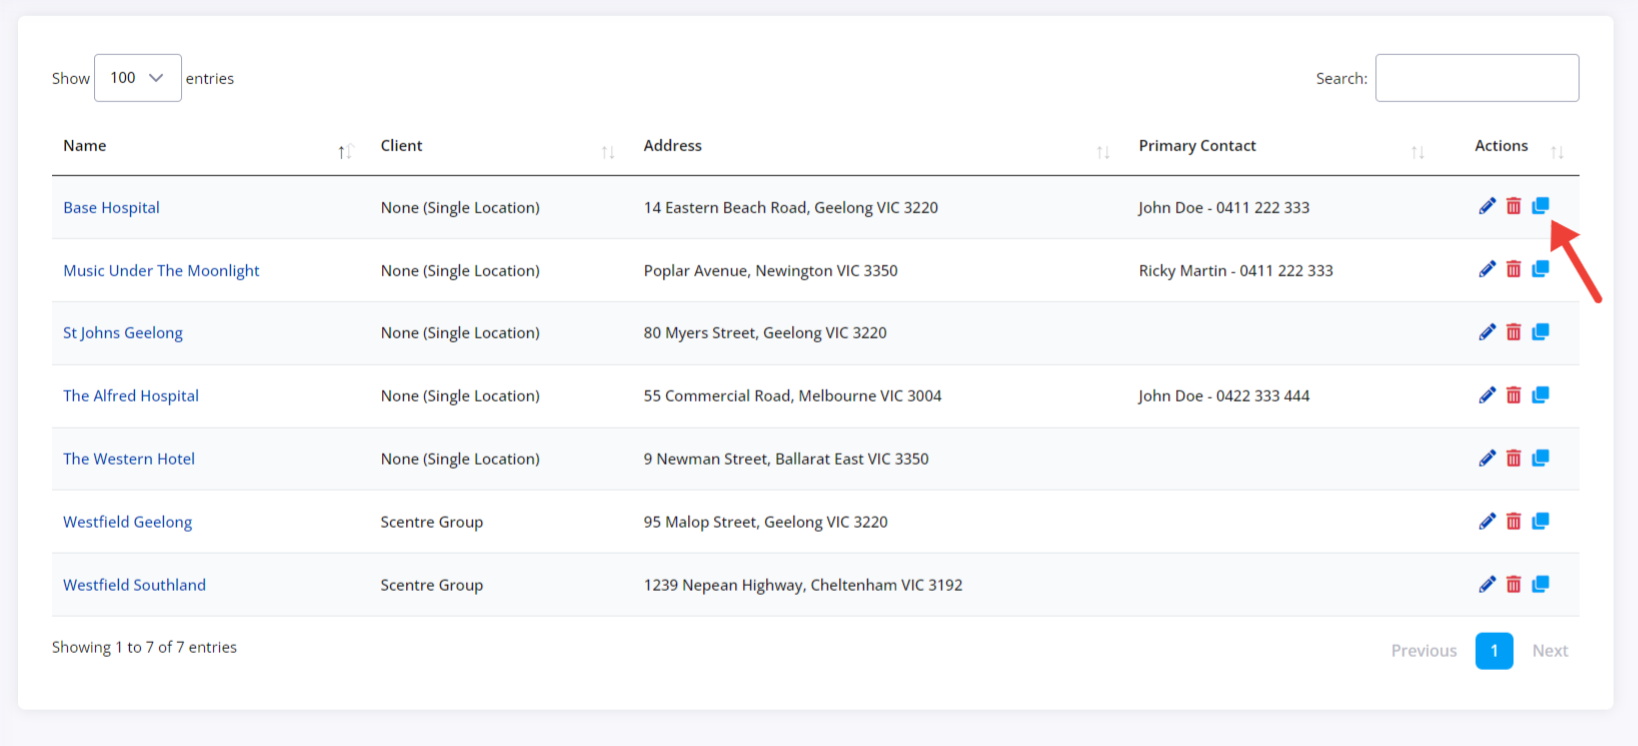
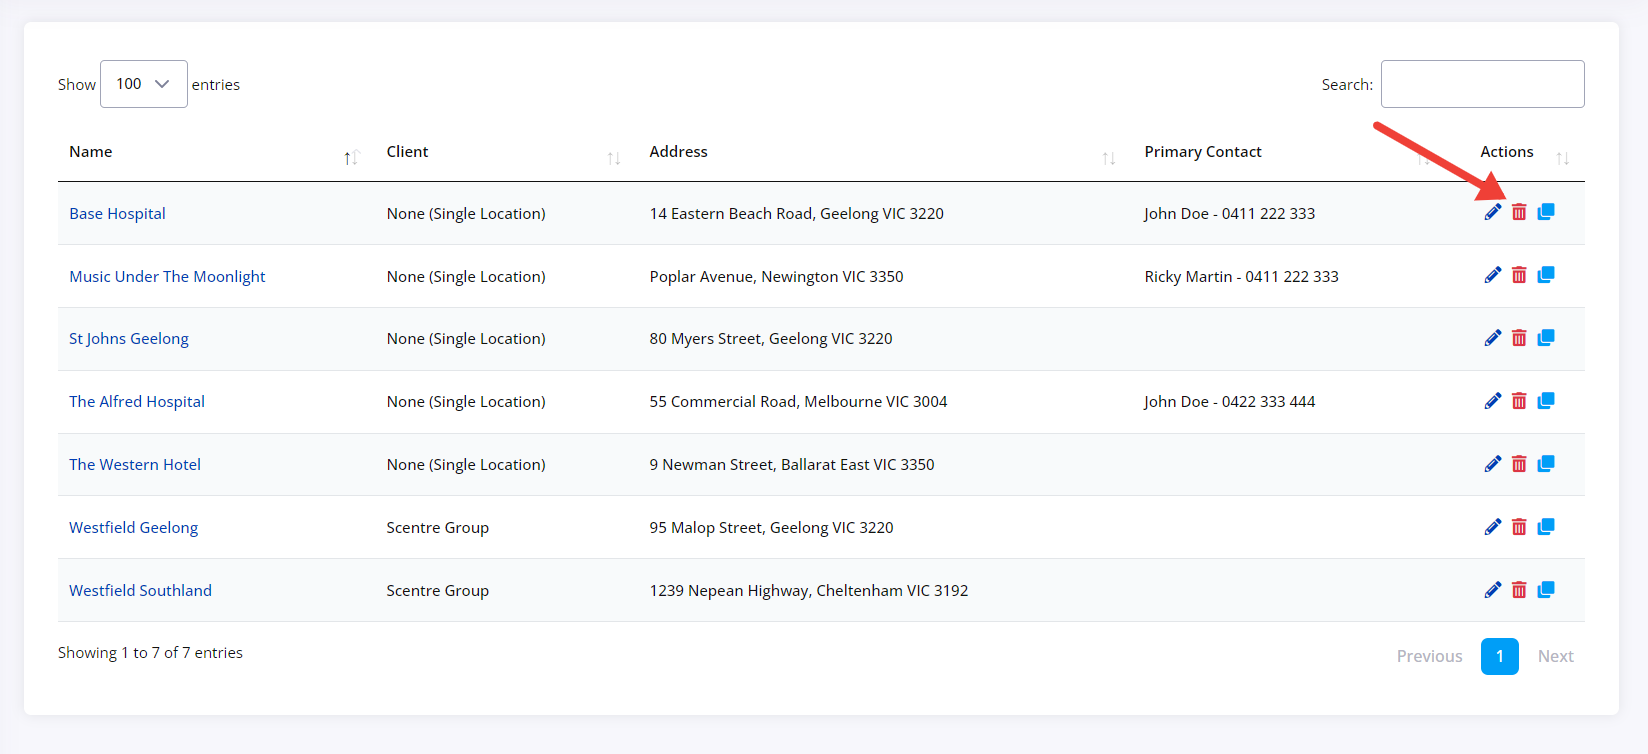
To save you time and effort, you can quickly clone an existing Location by clicking on the icon on the right-hand side of the Locations listing page.
This is particularly useful when creating multiple locations as part of the same Client.
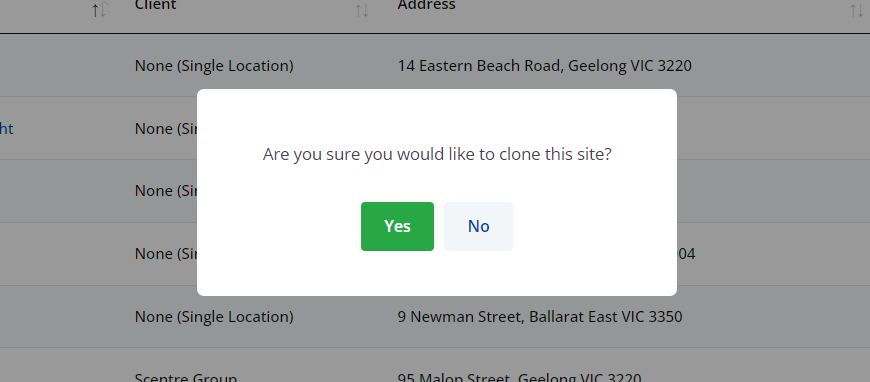
Once you click the Clone icon, a message will be displayed for you to confirm this action.
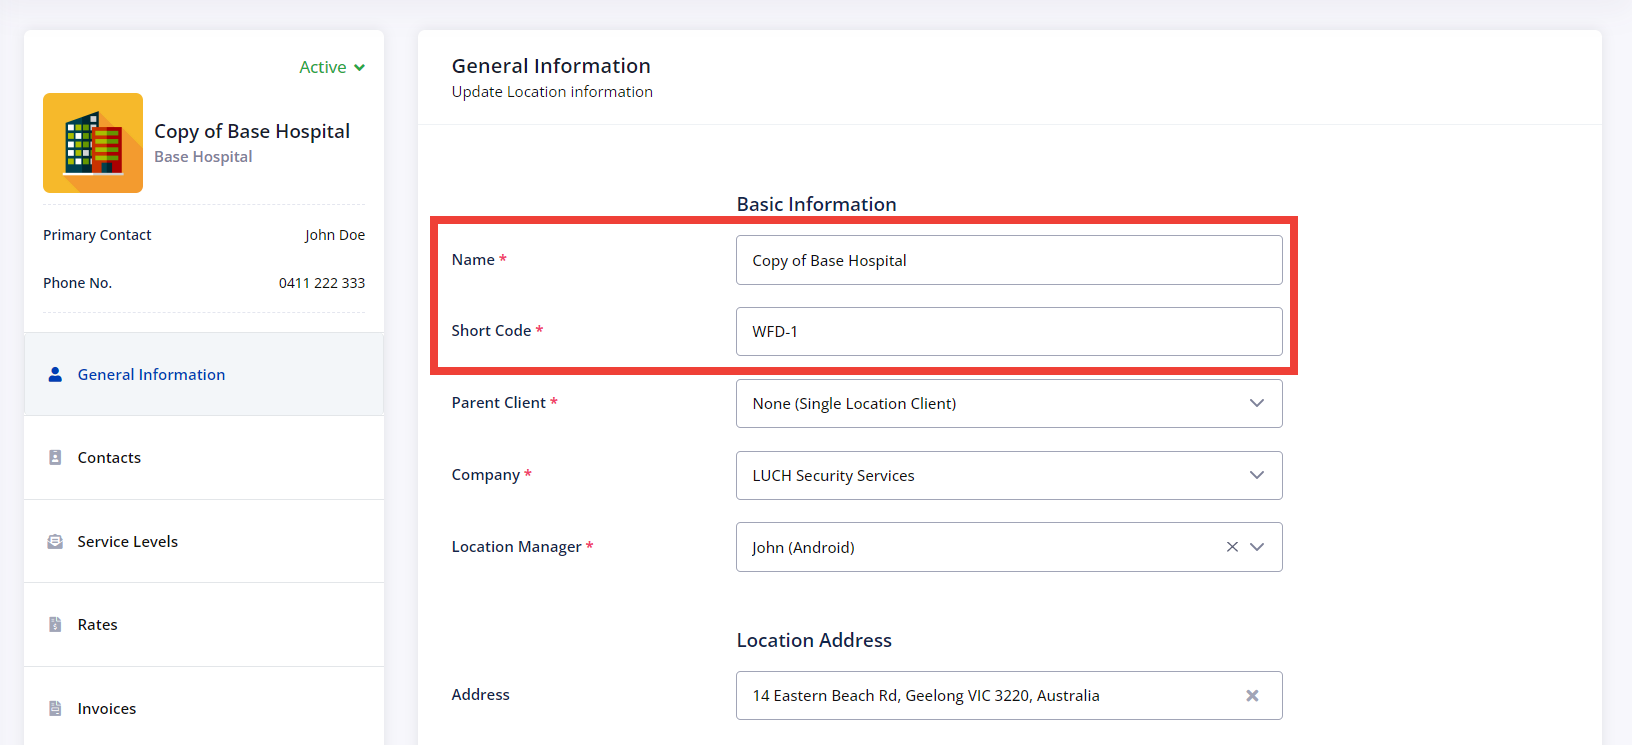
After cloning a Location, the only two unique pieces of information about the new location are the Name and Short Code. All other information across all tabs is a copy of the previous Location.
You can now update these and any other relevant fields such as address and Contacts, etc.
Locations can be set to either: Active or Inactive. By default, all Locations are set to Active when they are initially created in the system.
Locations with Active status will appear in the Location list as well as under the Rosters section.
However, if a Location has stopped getting your services, you can choose to make them Inactive from the Location Details page.
You’ll then be prompted with a popup notification to confirm this action.
You can delete a location by clicking the Delete icon on the location listing page.
However, it is strongly recommended that deleting a location is the very last resort, as this action will also result in the deletion of location-related information such as past and future rosters, shifts timesheets, invoices, contacts, rates, etc.
You’ll then be prompted with a popup notification to confirm this action.

